")
")
This is a support tutorial to once that is on line in on Abvent site: Site Insertion
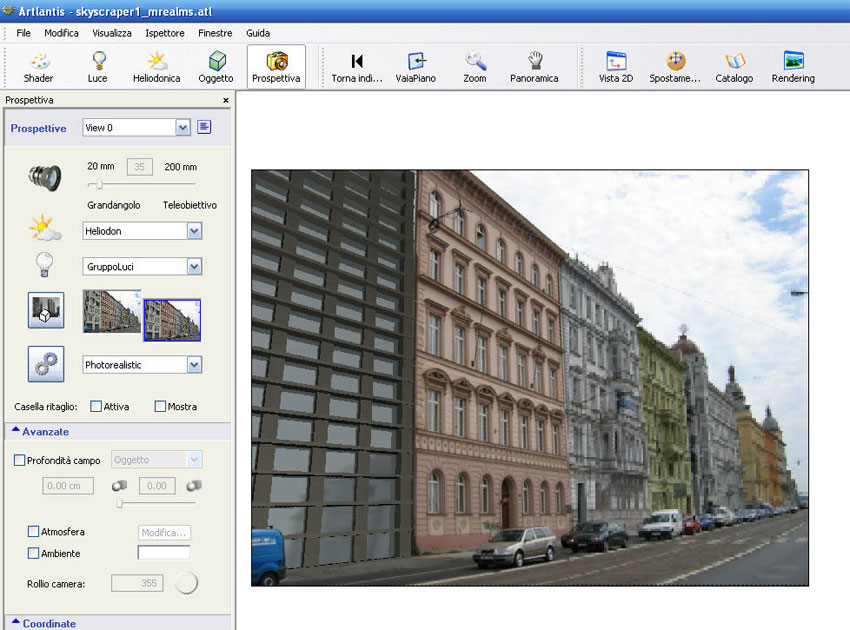
Apply the desired background image, in the background window (1)
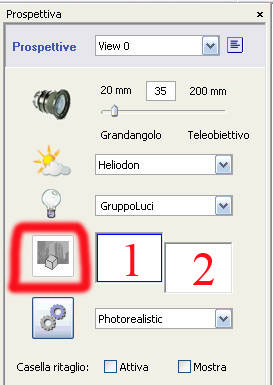
Open the insertion window, clicking on the image whit red contour …
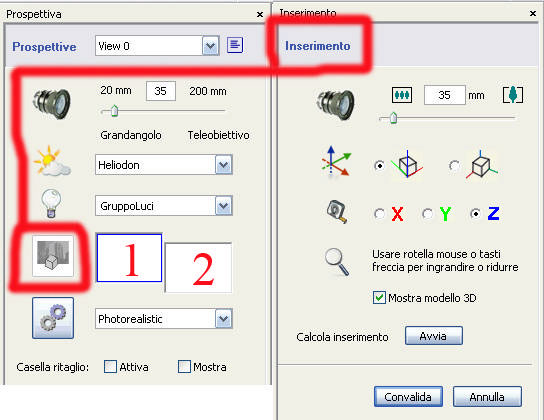
Set the X - Y - Z axis on the basis of the vanishing points of the background picture. We recommend to set off the 3d model visualization.
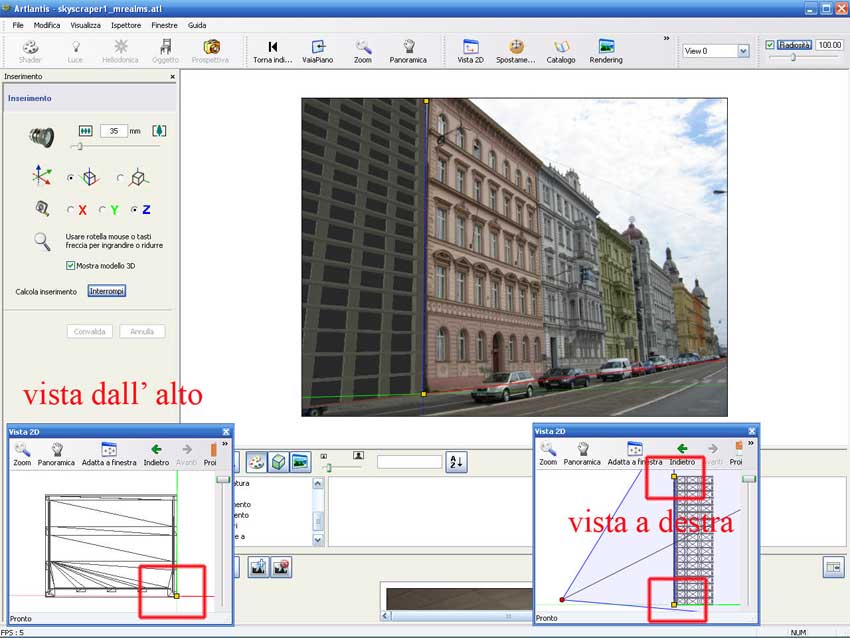
After the first axis positioning check into 2d window that the yellow rectangles are perfectly coincident whit the angles of 3d model.
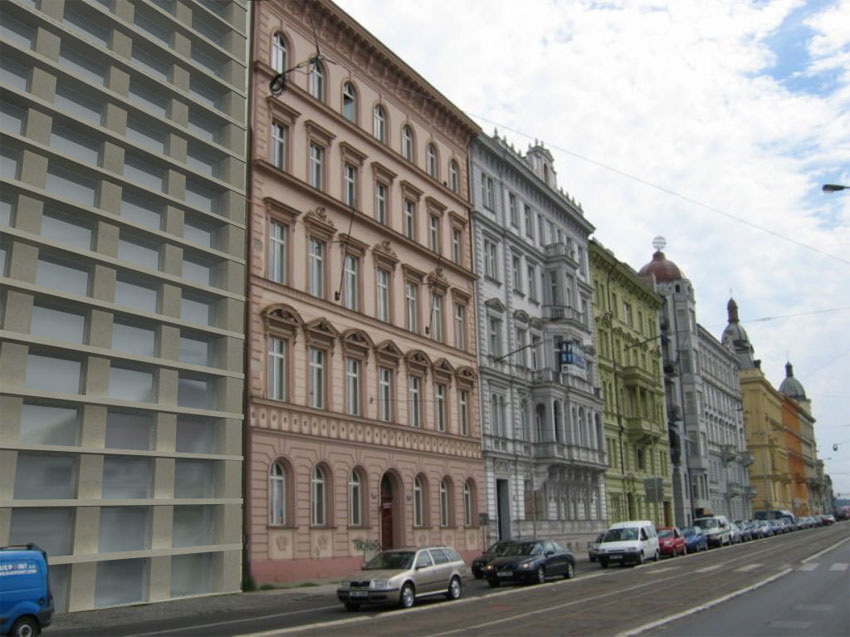
DON'T WORRY if the model is in front of the image (like in that picture: the car in the left side is in back of 3d model).
At this point we can start automatic positioning by clicking on the relative button: so the model will be put on the coordinates previously set. I’ts probably that the program has difficult to set correctly vanishing points: if the model continuous rotates, you had mistake whit vanishing points. It’s not necessary to reset the entire model but you can set step by step line on the x –y axis to obtain the correct orientation.
Click on the confirmation button.
Now we elaborate the background image in a program like Photoshop.
Select the part of the image that we will see in front of the model (for example the blue car on the left side).
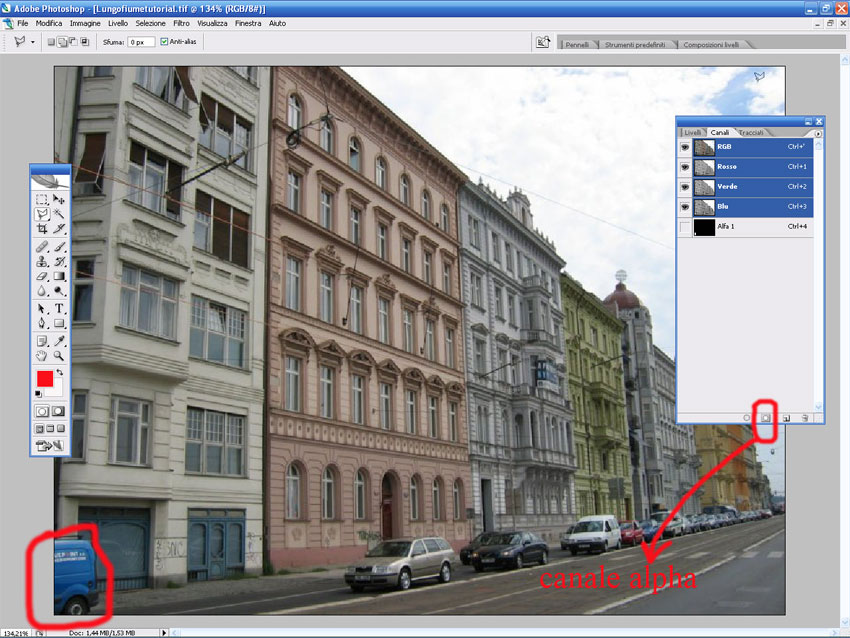
On the canal selection list, we will click on the button in the red square to create the alpha channel.
Save the image whit tiff extension, so we preserve the alpha channel.
In the first plan window we will set the image elaborated whit Photoshop (point 2)
THE SITE INSERTION IS TERMINATED.
Now we can proceed to set lights and materials to complete the render ,with attention to set correctly light to effective image luminosity such as show in the picture above: